


Accessing the Knowledge Center effectively requires a simple, one-time registration.
Garrett turbocharger installation guide – Steps to proper turbo installation
In our previous article, [Part 1] Garrett turbocharger installation guide, we described the strictly rules any mechanic should follow during the installation of a Garrett turbocharger and how the Garrett Turbocharger system diagnostics guide may help you identify the most common issues.
In this article, we will list the steps you need to follow before and after the installation process.
Steps to proper turbo installation
- Start the turbo installation by removing old gasket material from the exhaust manifold and pipe. The surfaces of the flange must be clean and have no damage.
- Remove all plastic or foam blanking plugs from the turbo.
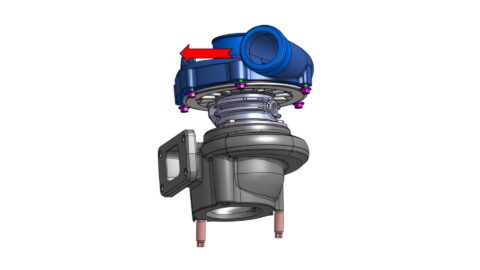
- Position the turbo onto manifold or engine block using the correct new gasket or O ring, and then reconnect the exhaust pipe.
- Tighten all nuts and bolts to the correct torque.
- Pay special attention to oil feed and drain lines, which must be totally clean and have no damage to ensure unrestricted oil flow.
- Make sure that no flexible hose liners have collapsed internally, and that oil feed line is not too close to any source of heat which may have damaged the oil feed line internally. This is common on some vehicles and difficult to detect without cutting the pipe! We recommend fitting a new oil inlet pipe when installing the new turbo.
- Install oil drain line to the turbocharger, then pour new engine oil into the oil inlet hole of the turbocharger and fit the oil feed line. Spin the compressor wheel by hand a few times – it should spin freely. Note that it is normal to feel some up and down movement of the wheels. Install inlet and outlet air hoses to turbocharger compressor housing and make sure that the connection is airtight.

After the installation
- To test, crank the engine for 10 – 15 seconds to prime oil feed without starting the engine.
- Start the engine and let it idle for 3 to 4 minutes to allow for proper inspection of oil, gas and air leakage.
- If any leakage is detected during engine start up, please fix the issue immediately.
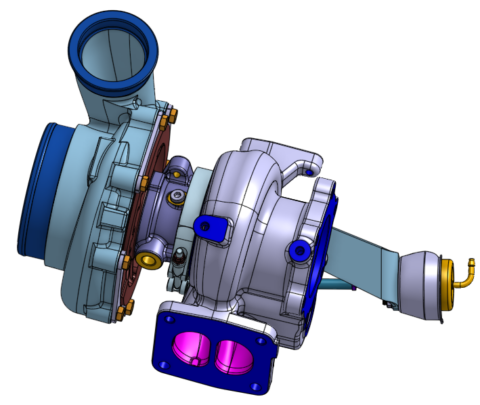
- For VNT turbos, please ensure that actuator operates correctly after starting up. During vehicle key-on and start-up, it is normal for VNT turbos to show movement in actuator, vane arm and vane mechanism, and it is also normal to hear a high-pitched noise from electric actuators.
- If no movement is detected, please investigate the cause on the vehicle, as the actuator operations has been set and tested before it left our factory.
Important Note: The gears in our electronic actuators are “self-blocking”, this means that it is not possible to move the actuator operating arm or the connecting rod manually. Attempting to move these parts with a tool or by hand may break the gears and make the turbo unusable. Damage of this sort is not covered by our warranty.
Finally, stop the engine and re-check engine oil level. It is important to make sure that oil level is between the minimum and maximum levels allowed.
For more insights on turbocharger technology, you can join the Installer Connect community, take the online courses and receive Garrett Installer Connect certificates. For free!

See Other Relevant Content from Knowledge Center