Accessing the Knowledge Center effectively requires a simple, one-time registration.
Garrett turbocharger installation guide – Rules to be strictly followed
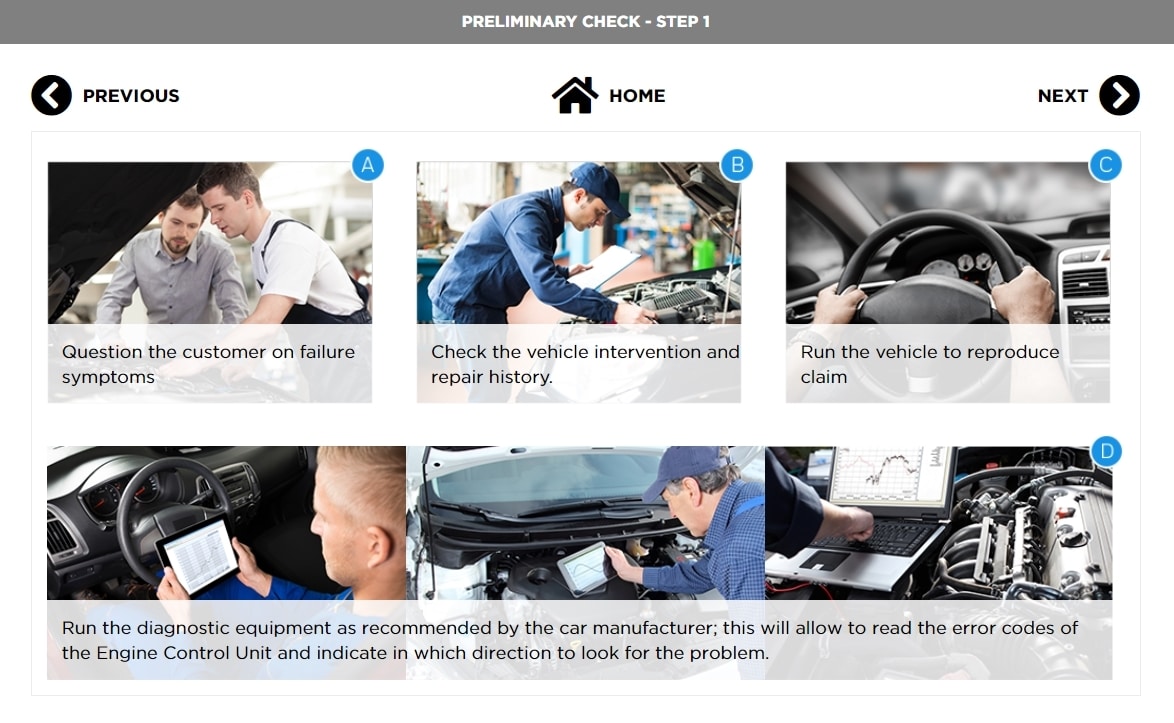
Before replacing a turbocharger, it is important to conduct a thorough diagnostic check of the engine systems. A lack of power, noisy operation, excessive smoke or oil consumption could result from a faulty fuel injection system, restricted or blocked air filter, a damaged exhaust system or a lubrication problem. Also, check engine crankcase pressure. A higher than normal reading can be caused by piston bypass or blocked breather system, and this requires your immediate attention. For more information, please refer to our Turbocharger system diagnostics guide.
If the diagnostic check does not uncover any obvious cause, make sure that an extensive trouble shooting analysis is completed on key areas such as foreign objects, lack of lubrication, oil contamination, over-speeding of the turbo and excessive temperature. This is important because turbo damage can often be a symptom of an underlying problem rather than the cause itself.
For any turbo installation, the following rules must be strictly followed.
- Do not change any of the settings or calibration of a turbo – doing so may damage the turbo or the engine and voids warranty.
- For VNT turbos, do not adjust minimum vane open position under any circumstances – doing so could cause serious damage to the turbo or engine.
- Ensure that correct gaskets are used – the center hole of the gasket must be perfectly aligned with the center hole of turbo oil inlet flange. We do not recommend using liquid gasket or sealants particularly for the oil inlet or outlet since excessive material may enter the turbo, reducing or stopping oil flow. For information on oil, torques and installation details, always refer to the engine or vehicle manufacturers’ manuals for correct information. A modern turbo is highly sophisticated and runs at high speed – it is important that during the whole process, you prevent dirt or debris from entering any part of the turbo to avoid catastrophic damage.
- Use new air, oil and fuel filters and clean engine oil according to the engine or vehicle maker’s specification as part of the turbo replacement installation. When installing the new oil filter, if possible, fill it with clean, fresh engine oil. Also, if it is accessible, back-fill the pressure line from the oil pump to the filter. This is particularly important for high mileage engines where the oil pressure line may empty during oil changes.
- Before installing the turbo, first need to make sure that all air hoses connected to the turbo are totally clean and show no sign of any damage. For VNT turbos with pneumatic actuators, check hoses to the control valve and to the actuator as well. For VNT turbos with electronic actuators, check the vehicle wiring loom and connectors for damage since water leakage or broken wires are quite common. This also applies to pneumatic actuators with position sensor connectors. [only in 1.6 engine] In addition, the air filter and its housing must be completely clean and free from any debris.
- Clean the engine breather system and ensure that it functions properly according to engine or vehicle manufacturer’s manual.
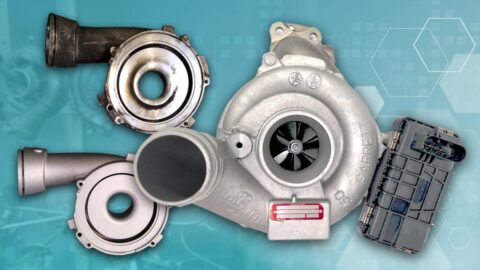
- Careful handling of the turbo is essential – be aware that some are quite heavy. The proper way to take the turbo out of its box is to lift it by either end housing. Grabbing it by the actuator, rods or hoses may result in severe damage. Similarly allowing the turbo to roll around on a workbench may cause damage. The gearbox inside the electronic actuator may be damaged by any impact, so additional care must be taken.
- For VNT turbos with electronic actuators, avoid finger contact with connector pins at all time.
- Check the part number to ensure that it is the right one for the engine. Installing the incorrect turbo to an engine may damage the turbo and/or the engine and will void the warranty.
Check the Garrett Aftermarket & Reman Turbo Catalog for more detailed information about your product.
Check out [Part 2] Garrett turbocharger installation guide to find out which are the steps you must follow for a proper turbocharger installation.
